TAG LINE
TAG LINE
SMALL TITLE
Accounts typically represent customers or partners. Accounts contain contacts, packages, invoices and other account/billing specific settings and information. In this example we will create an account that we will then add sub accounts to in a later guide.
This article will walk you through creating a basic account with a billing contact.
For additional details on the fields presented on the new account screen see the Creating a New Account Screen screen help article.
Before you can add an account you must configure the following entities:
Log into the LogiSense Billing application
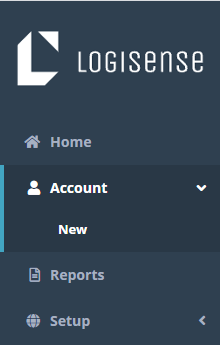
Click on the Account menu then New
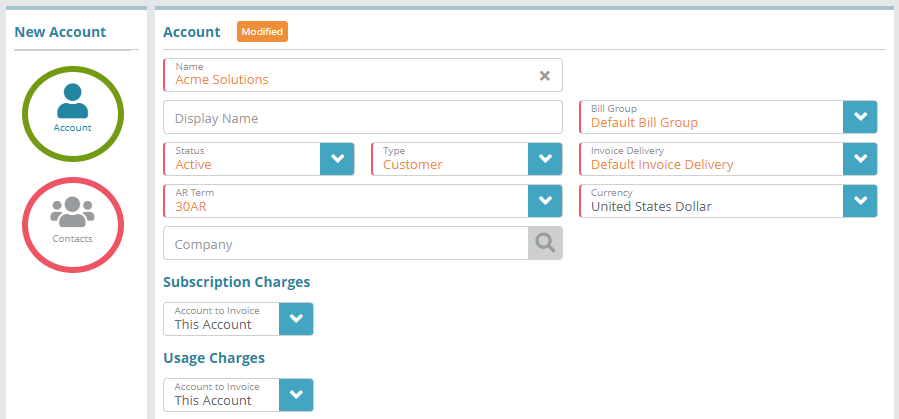
Fill out the required fields (marked with the red left border)
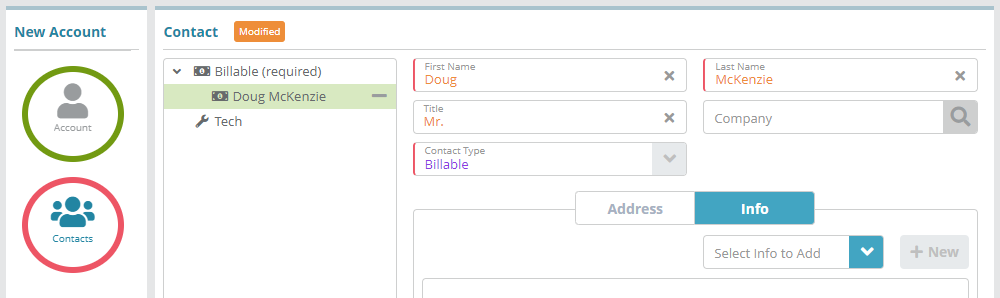
Next click on the Contacts option. By default, the Billable contact is required. Fill out the required fields (marked with the red left border), then click on the Address tab
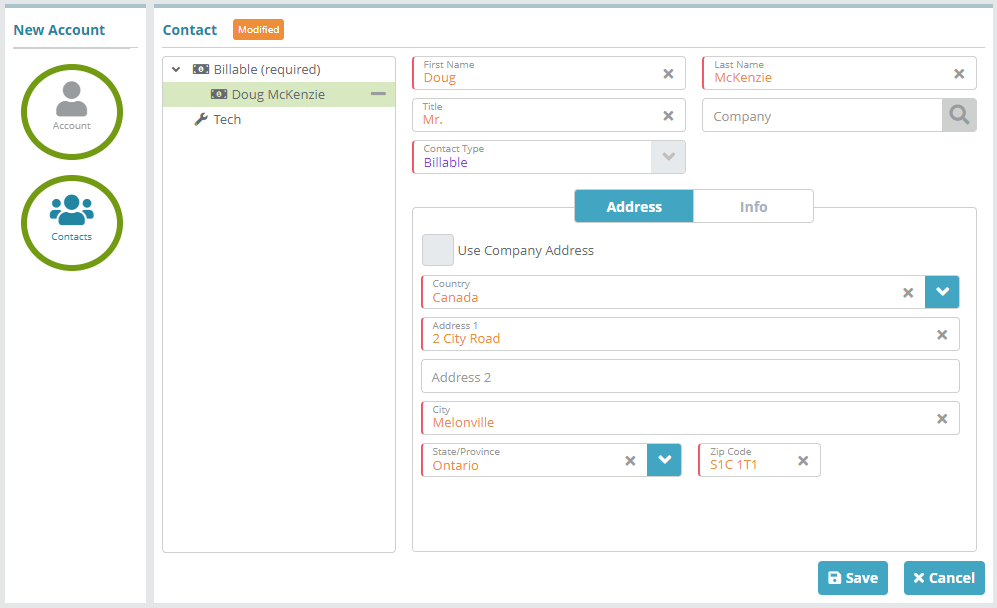
On the Address tab select the Country which will then display additional details to populate. Fill out the address details then click the Save button
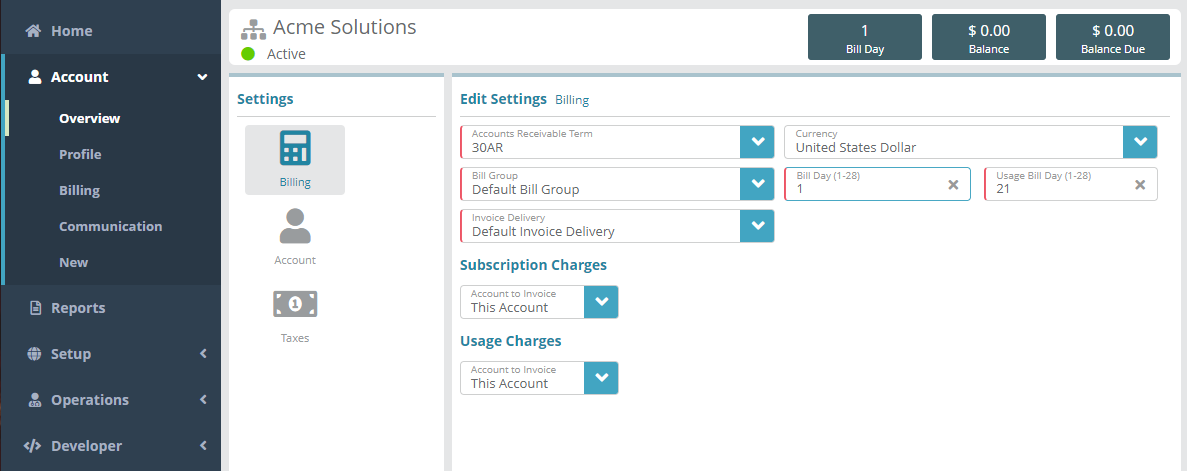
You will now see your new account with several new menu options (depending on your user's permissions). From the account menus you can adjust account settings (bill day, etc.), add packages to accounts, add transactions and more.
Account
Optional: If you need to setup child accounts you can do so now. Child accounts can be configured to send charges to the parent account if desired. See the Child Account Creation Example article for an example
Now that an account exists you can add packages to it (sell products). See the Account Package Example article for an example