Child Account Creation Example
Summary
Child accounts are created under a parent account and by default will be configured to roll up invoice subscription charges and usage charges to their parent account (although a child account can be setup to receive its own invoice if desired).
In this example, we will create a child account under the parent account that was created in the New Account Creation Example guide.
Prerequisites
A parent account must exist before you can add a child account. If you haven’t created any accounts so far, please refer to the New Account Creation Example guide.
Process
Log into the LogiSense Billing application
In the search box at the top of the page, leave the Search Filter to Account and then enter the account you want to create a child account under. Select it from the list and then click the arrow button to go to the accounts overview page
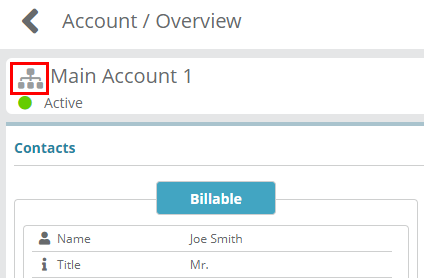
To add a child account under the currently loaded account, click the hierarchy icon beside the parent account name
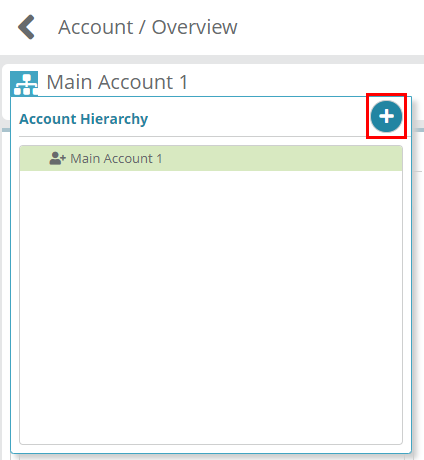
Then click the
 button to add the new child account
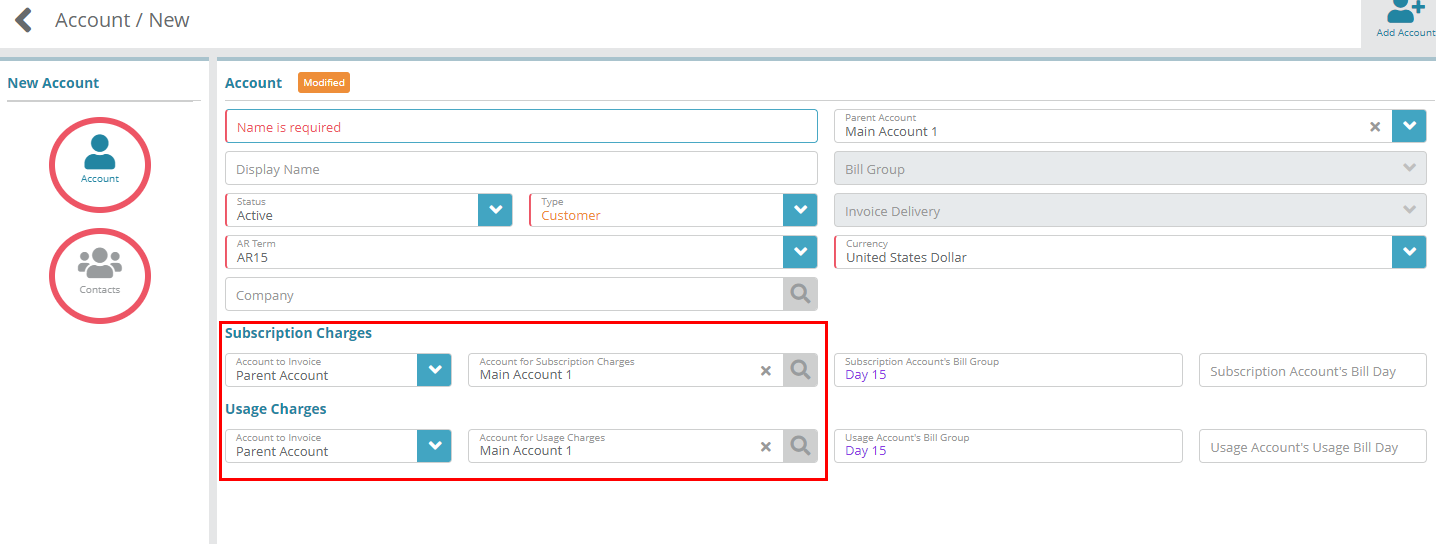
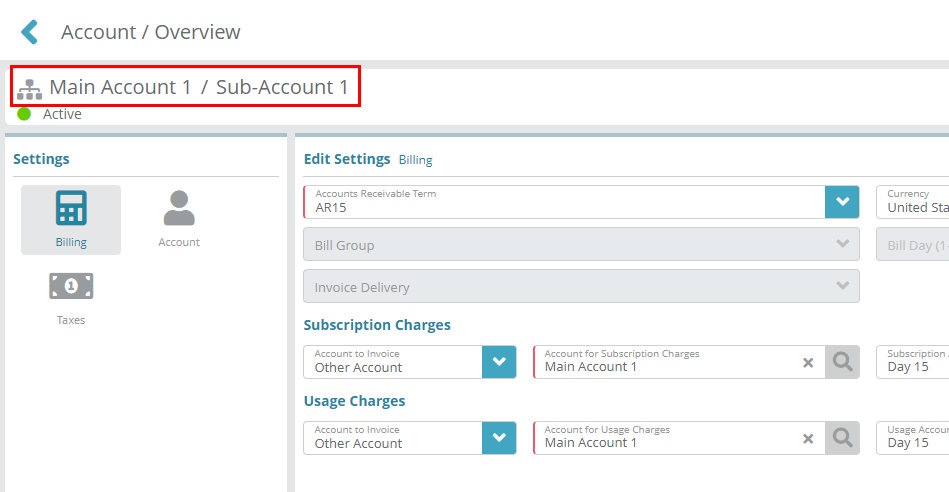
You will be taken to the familiar ‘Account / New’ screen. Here you can see that the Subscription Charges and Usage Charges are automatically set to the parent account Main Account 1
You can change these settings if you wish. For example, if you want the invoices for the child account to be created under the child account as opposed to rolling up to the parent you can set the Account to Invoice settings to This Account. Note: splitting the charges between two accounts is not currently supported
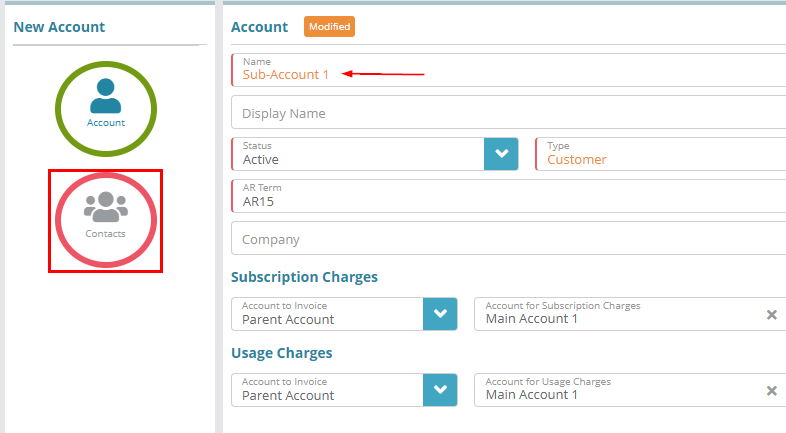
Give the new child account a name and then click on the contacts icon to add a contact
By default, the Billable contact is required. Fill out the required fields (marked with the red left border), then click on the Address tab
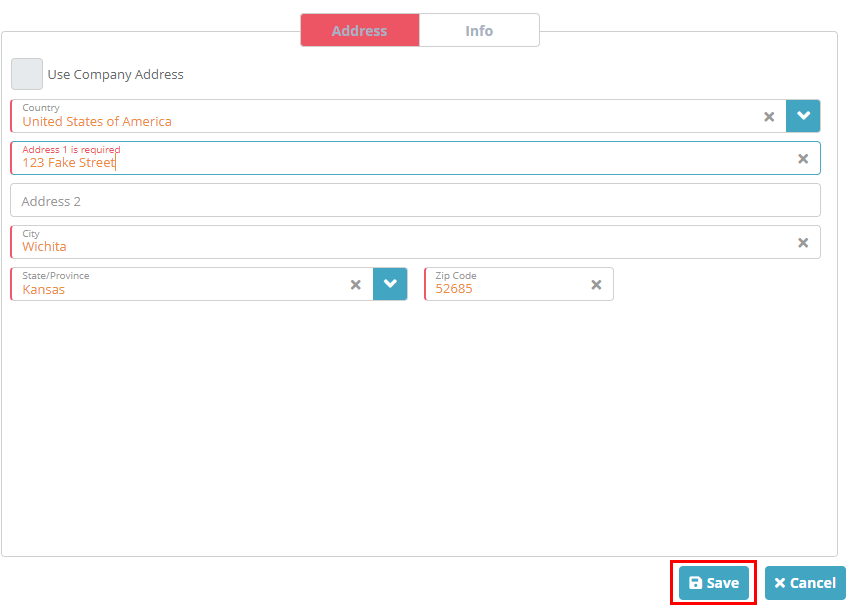
Select the country which will then drop down additional options. Fill out the required fields (marked with the red left border), then click the Save button
Your child account is now created. You can tell you viewing a child account by the breadcrumb details. Clicking on the ‘Main Account 1’ in the breadcrumb will take you back to the parent account.
Next Steps
Now that accounts exists you can add packages to them (sell products). See the Account Package Example article for an example

